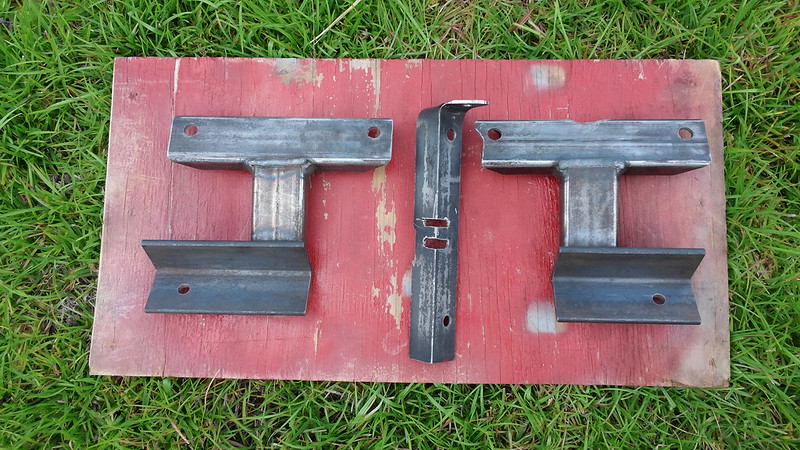
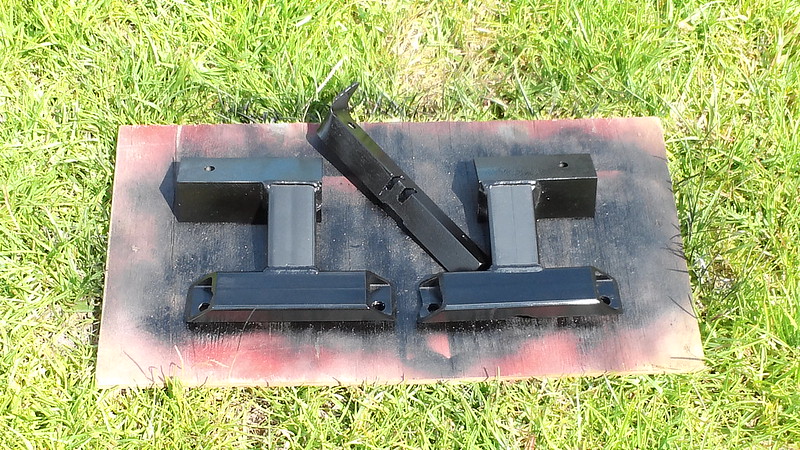
Oh . . . Naked metal . . . Close your eyes!!
Baked on goodness . . .
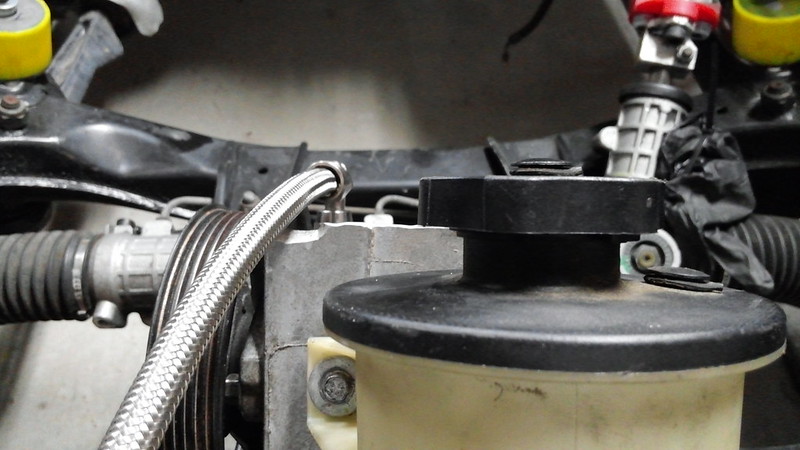
Spaced the PS reservoir down
Small strip of al-u-mini-um and done!! Will add a longer hose later . . .
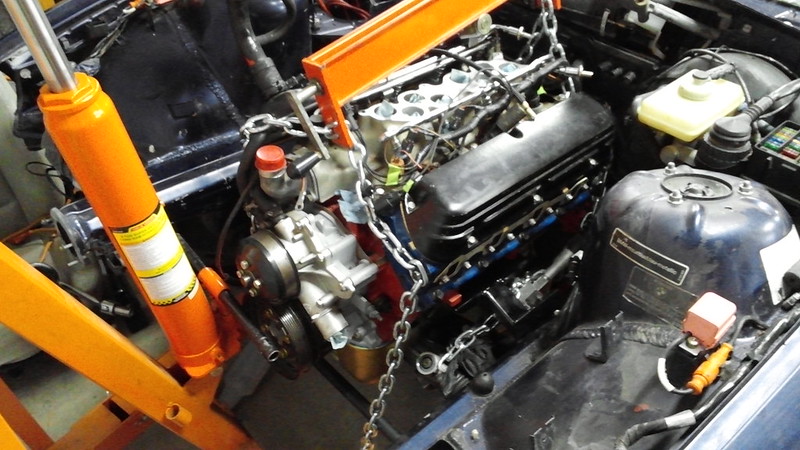
Home, sweet home!!
I took a pause to dig through some boxes I had stored on the shelf that where not labeled. Low and behold, I found this:
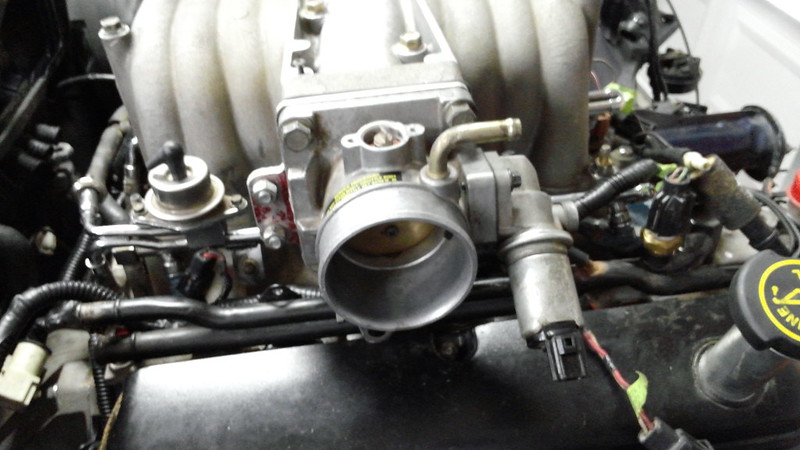
Mustang 65mm TB!!
As you can see from the pics, I removed all of the Explorer stuff and put the Mustang junk on.I added the throttle cable (not pictured) and cable throw works correctly. I added the Explorer IAC (still have to wire it), but the TPS won't work. I'll pickup up tomorrow.
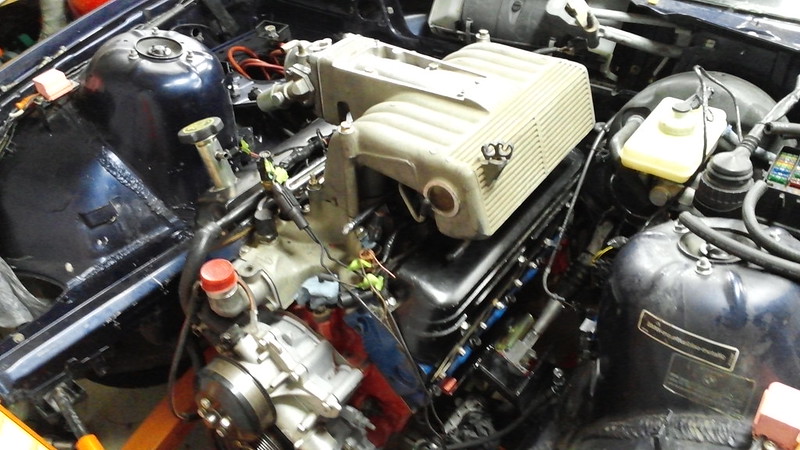
Upper intake installed . . . Labeled the vacuum ports for later.
Closed down the garage and caught up with homies for some laughs . . . .
Here's the count down list:
- Main harness
- IAC
- Temp gauge
- IAT
- Reverse lights
- Alternator
- Starter
- Fan switch
- Neutral switch wiring
- EGR jedi mind trickery
- Make some brackets and block off plates
PS reservoirABS pump- Overflow tank
EGR port block off plate- Run some hoses and lines
Fuel lines- Coolant hoses
- Heater core bypass for now
- Vacuum lines
Brake Booster- Fuel pressure regulator
- Wrap the driver side header
Paint the engine mountsInstall engine and transmission- Install driveshaft
- Run the exhaust
- Mount the radiator
- Install suspension
- Fill the engine and trans with fluids
- Prime the engine
- Add Gas
- Add Battery
- Turn the key!!!
-=PJ


